Building an outdoor kitchen that lasts means making smart material choices from the start. Outdoor kitchen cabinets stainless steel have become the go-to option for homeowners and DIY builders who want a setup that handles weather, looks sharp, and doesn’t require constant babysitting. Unlike standard indoor cabinetry, outdoor cabinets face salt spray, temperature swings, UV exposure, and seasonal moisture, conditions that turn ordinary materials into rust factories. Stainless steel changes that equation. This guide walks you through what makes stainless steel the practical choice, how to pick the right grade, and how to install cabinets that stay solid for years.
Table of Contents
ToggleKey Takeaways
- Outdoor kitchen cabinets stainless steel resist corrosion, rust, and weather damage because chromium in the alloy forms a self-repairing protective oxide layer that works in salt spray, humidity, and extreme temperature swings.
- 304 stainless is suitable for inland outdoor kitchens, while 316-grade stainless with molybdenum offers superior corrosion resistance and is essential within a half-mile of saltwater or high-salt environments.
- Brushed stainless finishes hide fingerprints and water spots better than polished finishes, making them the practical choice for outdoor use requiring minimal maintenance.
- Proper installation requires a stable concrete or composite base, stainless steel fasteners and hardware to prevent rust staining, and marine-grade silicone caulk to seal gaps and resist temperature-induced cracking.
- Stainless steel outdoor cabinets typically last 20+ years with only seasonal wiping and basic care, eliminating the need for regular resealing, repainting, or UV protection reapplication.
Why Stainless Steel Cabinets Dominate Outdoor Kitchen Design
Stainless steel has earned its reputation outdoors because it solves real problems. When rain, salt air, and sunlight attack a cabinet, ordinary steel rusts within weeks, plywood swells and delaminates, and painted finishes peel. Stainless steel resists corrosion at its core, the material itself doesn’t break down the way other metals do. That’s not hype: it’s metallurgy. The alloy includes chromium, which forms an invisible oxide layer that repairs itself when exposed to oxygen. Damage the surface, and the chromium goes to work again. This passive protection means a cabinet in a coastal climate or high-humidity region doesn’t need constant maintenance just to stay standing.
Beyond durability, stainless steel reads as intentional. An outdoor kitchen with stainless steel cabinets signals that someone thought through the build, it’s the material choice of commercial kitchens and restaurant equipment, and homeowners notice. Many design-conscious builders choose stainless precisely because it conveys craftsmanship and won’t look dated in five years. The material also works with nearly every aesthetic, from modern minimalist to rustic coastal. You’re not locked into one style.
Key Advantages of Stainless Steel for Outdoor Environments
Corrosion and Weather Resistance
Corrosion is the silent killer of outdoor cabinets. Standard carbon steel oxidizes almost immediately when wet. Aluminum can pit and degrade in acidic or salt-laden environments. Stainless steel performs in these conditions because the chromium content, typically 10.5% or higher in food-grade stainless, creates a protective barrier. Marine-grade stainless (316L or higher alloy numbers) includes molybdenum, which adds extra corrosion resistance and is worth the cost if you’re within a mile of saltwater.
Temperature swings don’t crack or warp stainless steel the way they do wood or composite materials. A cabinet installed in Arizona endures 140°F summer days and 40°F winter nights without expanding and contracting enough to separate joints or warp doors. Moisture from snow melt, rain splash, and sprinkler overspray won’t cause the material to absorb water and swell. That resilience translates directly to longevity, a stainless steel outdoor cabinet can easily last 20+ years with basic care.
Low Maintenance and Easy Cleaning
Stainless steel is famous for being low-maintenance, and outdoors that’s a genuine advantage. No painting required. No sealant reapplication every two years. No worrying whether UV has degraded a protective coat. You wipe it down, maybe once or twice a season, and it stays functional and presentable. A soft cloth and soapy water handle fingerprints and dust. For stubborn spots or salt residue (especially near the coast), a 50/50 white vinegar and water solution dissolves buildup without damaging the surface. Avoid steel wool or harsh abrasives, they can scratch the finish and create tiny divots where corrosion can start.
Cleaning is fast enough that maintaining your cabinet becomes routine rather than a project. Many outdoor kitchens live in spots where they’ll get splashed with grill grease, cooking oil, and condiment drips. Stainless wipes clean in seconds. Compare that to wood cabinets, which require resealing after grease contact, or powder-coated steel, which can chip and leave exposed metal. The low-maintenance angle is real and shouldn’t be undersold.
Choosing the Right Grade and Finish for Your Space
Not all stainless steel is created equal, and the difference matters for outdoor use. The grading system sounds intimidating, 304, 316, 316L, but it’s straightforward. 304 stainless is the entry point and works fine for most outdoor kitchens away from direct coastal spray. It contains 8% nickel and 18% chromium and handles freshwater and humid air well. 316 stainless adds molybdenum, bumping up saltwater resistance significantly. If your kitchen is within a half-mile of the ocean or in a high-salt environment, 316 is the smart upgrade. 430 stainless is cheaper but less corrosion-resistant and best avoided for outdoor cabinetry: it’s fine for backsplashes but not structural cabinet bodies.
The finish also shapes performance and appearance. Brushed stainless (sometimes called satin or matte) hides fingerprints and water spots better than polished finishes. Dust and debris are less obvious on brushed surfaces, which makes it the practical choice for outdoor kitchens where perfect cleanliness isn’t always realistic. Polished or mirror finishes look sleek indoors but show every water drop and require more frequent wiping outdoors. Textured finishes are less common but can mask imperfections if custom fabrication introduces minor surface irregularities.
Budget and location should guide your choice. In Arizona or inland areas, 304 stainless with a brushed finish keeps costs reasonable while delivering decades of life. Near the coast or in high-humidity regions, step up to 316 for the molybdenum insurance. Finishes are more about preference, brushed is forgiving, polished is showy, and textured is rare. Choose based on how much wiping you’re willing to do.
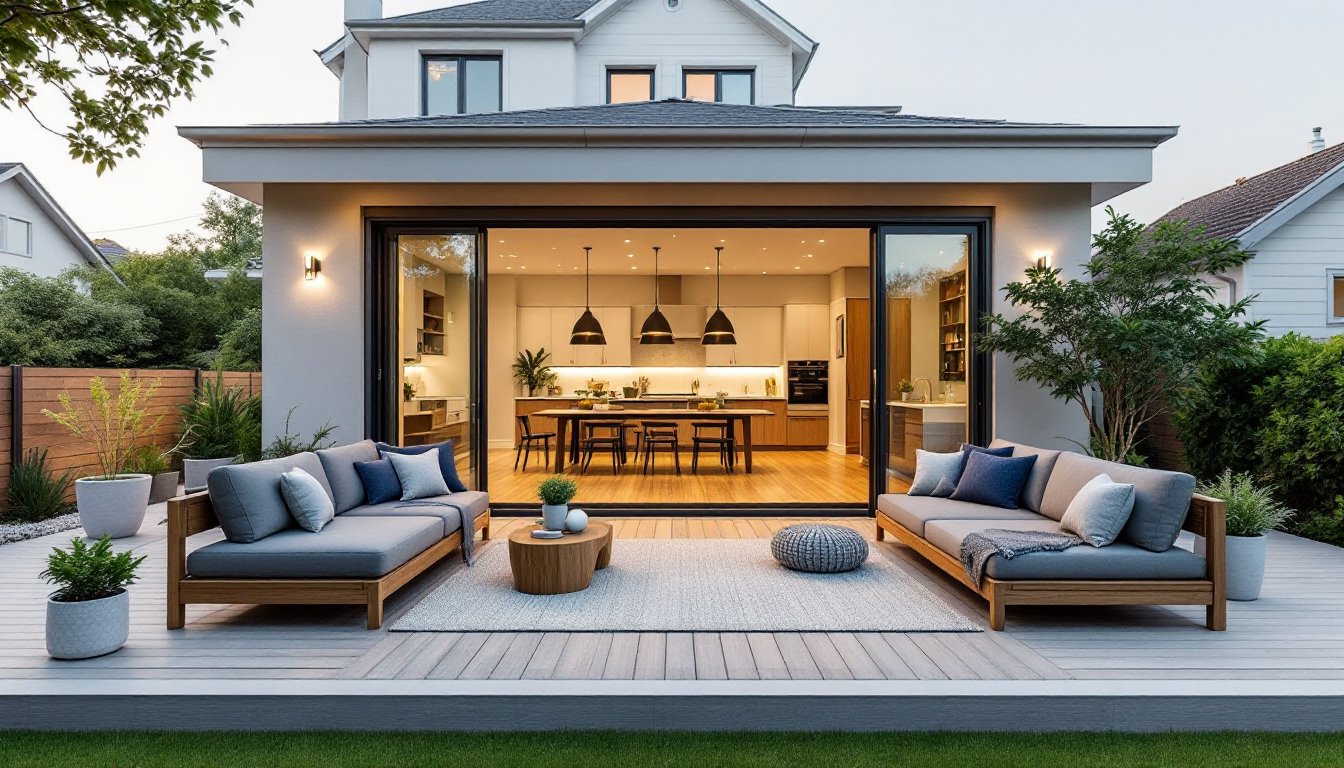
Design Ideas and Layout Options
Stainless steel cabinets adapt to almost any outdoor kitchen layout. The material itself doesn’t dictate design: your grill, countertop, and overall footprint do. Many homeowners arrange cabinets in an L-shape or U-shape to create workspace around a built-in grill or cooktop. Stainless works beautifully paired with concrete, stone, or granite countertops, the cool metal complements warm stone and creates visual contrast. A brushed stainless cabinet paired with honed granite and dark grout reads sophisticated without feeling fussy.
Storage organization deserves attention during the design phase. Standard outdoor cabinet depths are 24 inches, matching indoor kitchen base cabinets. Heights range from 30 to 36 inches, and you can mix heights to create visual interest or accommodate appliances. Vertical dividers and adjustable shelves maximize functionality. If you’re storing large platters, serving dishes, and entertaining supplies, deeper cabinets or taller configurations help. Many builders add a recessed toe-kick (4-6 inches at the base) to prevent tripping and make the installation look finished.
Galleries on design-focused sites like Houzz showcase outdoor kitchen cabinet designs with stainless steel paired alongside stone, wood, and tile. Southern Living’s outdoor kitchen ideas also highlight layouts that combine function with aesthetics. Study these to steal proportions, material pairings, and organizational tricks before you finalize your plan.
Installation Tips and Best Practices
Proper installation is where many DIY outdoor kitchen projects either succeed or stumble. Start with a level, stable base. Outdoor cabinets must sit on concrete pads, composite decking, or a properly graded and compacted gravel foundation, never directly on soil. Settling, frost heave, or water accumulation beneath cabinets will destabilize the entire structure and stress hinges, doors, and fasteners. Use adjustable feet or shim the cabinet level before securing it.
Fastening stainless steel cabinets requires stainless steel hardware. Bolts, screws, and fasteners must match the cabinet material. Standard steel fasteners will rust and stain the stainless surface, a guaranteed way to create corrosion issues. Use 304 or 316 stainless fasteners (often labeled “marine grade”) when bolting cabinets to a base or to each other. If attaching to a stone or concrete countertop, use stainless expansion bolts rated for outdoor use.
Sealant matters. Gaps between cabinet sections and between the cabinet and countertop need protection. Polyurethane caulk or marine-grade silicone stays flexible and won’t crack as the structure moves slightly with temperature changes. Standard caulk hardens and splits. Apply caulk after installation and allow it to cure per the manufacturer’s timeline before exposing it to weather.
Doors and drawers benefit from corrosion-resistant hinges and drawer slides, again, stainless or marine-grade hardware. Soft-close hinges are worth the investment: they reduce shock to the cabinet frame and slow the force of wind or accidental slams. Test the door swing and ensure proper clearance before final assembly. One person can install a cabinet, but two hands make alignment and fastening significantly easier and more accurate. Safety glasses protect your eyes during drilling and cutting, and work gloves prevent cuts from sharp edges on stainless or fasteners.
Don’t skip the detail work. Drill pilot holes before driving fasteners to prevent cracking if you’re drilling through stainless (the material can be brittle). Use a sharp metal-cutting drill bit and cut slowly. Burrs left after drilling can catch cloth and skin, so deburr holes with a countersink bit or file after drilling. These small steps keep the cabinet looking intentional and finished.