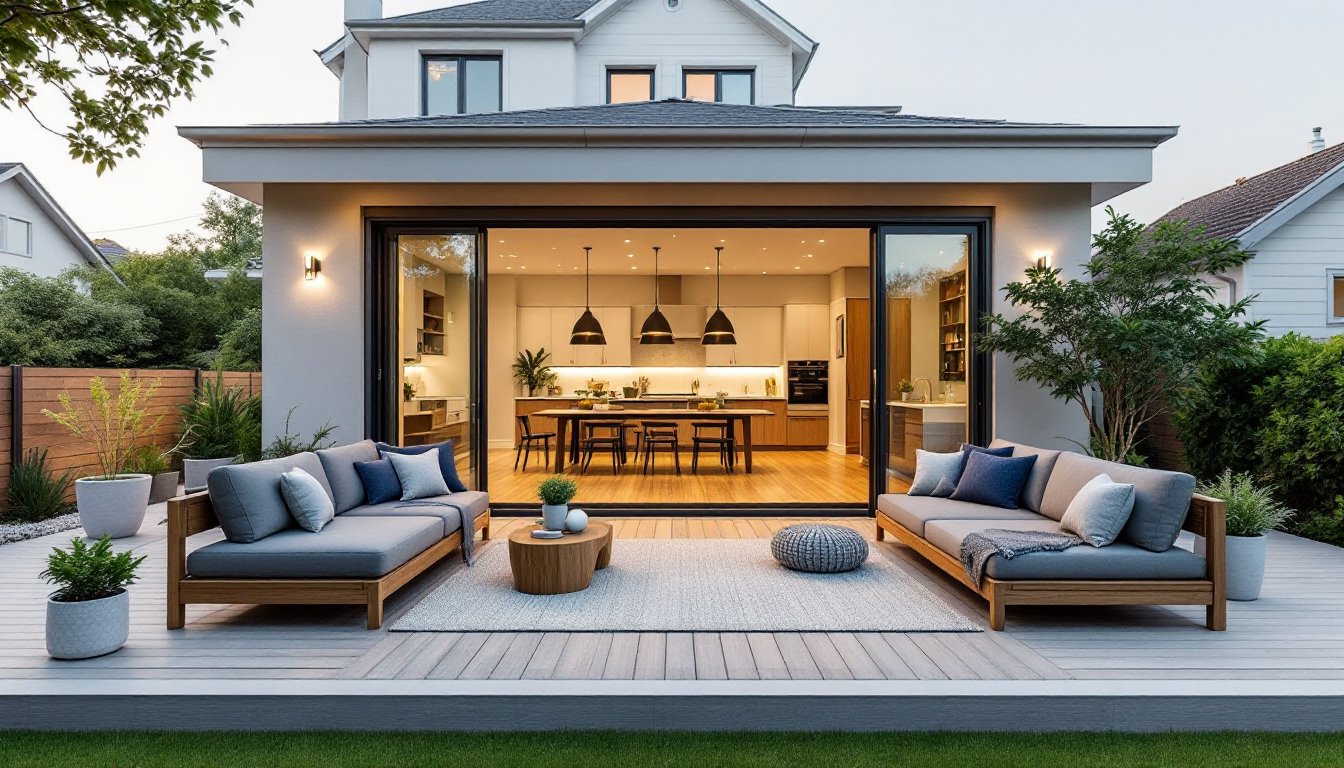
Building an outdoor kitchen doesn’t have to mean hiring contractors or spending months on custom construction. DIY outdoor kitchen kits have transformed backyard entertaining, offering homeowners a practical way to add cooking functionality and living space without the complexity of starting from scratch. Whether you’re a seasoned tinkerer or picking up tools for the first time, these kits come pre-planned with most components, cutting through the guesswork on design and material selection. This guide walks you through what these kits offer, how to pick the right one for your space, and how to install and maintain it for years of reliable use.
Table of Contents
ToggleKey Takeaways
- DIY outdoor kitchen kits eliminate design guesswork and contractor costs by bundling pre-cut cabinetry, grill frames, and countertops that can be assembled in a weekend.
- Kit costs range from $800–$8,000+ depending on configuration (cart, island, L-shaped, or U-shaped), making them significantly more affordable than custom outdoor kitchens starting at $3,000–$5,000.
- Proper foundation preparation is critical: measure clearances (24–36 inches workspace, 10 feet in front, 12–18 inches overhead), ensure a level concrete pad or verified deck load rating, and confirm utility requirements before purchase.
- Gas and water line installations must be handled by licensed professionals to meet local codes and safety standards; DIY connections risk fire hazards and code violations.
- Year-round maintenance—including seasonal winterization, monthly grease trap cleaning, biannual bolt checks, and regular cabinet and countertop care—extends the lifespan and reliability of your outdoor kitchen kit.
What Are DIY Outdoor Kitchen Kits?
Key Components and What to Expect
A DIY outdoor kitchen kit bundles the essential components you need to assemble a functional cooking and prep area in your backyard. These kits typically arrive with pre-cut cabinetry, a grill frame, countertop material (usually stainless steel or stone), and hardware, essentially a flat-pack approach to outdoor cooking.
Most kits include a grill insert (propane or natural gas), storage cabinets with weather-resistant materials, and a work surface for food prep. Some higher-end kits add mini-fridges, sinks, or burner inserts. The frame is typically powder-coated steel or marine-grade aluminum, designed to resist rust and UV damage.
What you don’t usually get is the foundation or utility connections. You’ll need to source or pour a concrete pad, and if you want gas or water lines, you may need a licensed plumber or gasfitter depending on your local codes. Think of a kit as the furniture for your outdoor space, the delivery and assembly are on you, but the design and material pairing are already figured out.
Benefits of Choosing a Kit Over Custom Building
Kits cut cost and complexity in several key ways. Custom outdoor kitchens start at $3,000–$5,000 for basic setups and climb fast: kits start lower and let you control the scope. You avoid the design phase, no meetings with contractors, no waiting for permit approvals, and no risk of ordering mismatched materials.
Assembly is straightforward: most kits use bolt-together frames and modular cabinets rather than site-built masonry or welding. A handy pair (or one person with patience) can typically finish installation in a weekend or two. You also get flexibility, many kits work on decks, patios, or concrete pads, so you’re not locked into one specific approach.
Manufacturers have already engineered water drainage, ventilation, and weight distribution. That removes a lot of trial-and-error. And if a component fails, replacement parts are usually available, whereas custom work may require calling back the original builder.
Types of Outdoor Kitchen Kits to Consider
Modular Grill Carts are the entry point: a steel frame with a grill insert, small side shelf, and minimal storage. They’re portable, affordable ($800–$2,000), and ideal for renters or anyone testing the waters. Popular models fit propane bottles underneath or to the side.
Island-Style Kits are larger, more permanent setups resembling a kitchen island. They typically feature a main grill, side burner, storage cabinets, and a larger countertop. These run $2,000–$6,000 and work well on patios or concrete pads. They’re heavier and require a solid, level foundation.
L-Shaped and U-Shaped Configurations maximize counter and storage space, often combining a grill, sink, mini-fridge, and prep area. These are the closest to an indoor kitchen footprint and cost $4,000–$8,000+. They’re ideal if you plan to spend significant time cooking outdoors and need serious storage.
Built-In Models slide into existing outdoor structures, pergolas, gazebos, or covered patios. These kits assume you have the surround structure and focus on the appliance integration. Prices vary widely depending on your existing infrastructure.
You’ll also find hybrid options mixing these styles. Choose based on your entertaining style, available space, and how frequently you’ll cook outdoors.
How to Choose the Right Kit for Your Space and Budget
Start with honest space and budget limits. Measure your patio or designated area, accounting for clearances, you’ll want at least 24–36 inches of workspace on either side of the grill and at least 10 feet of clear space in front for safe grilling. Check for overhead clearance if you’re under a roof or pergola: grills need 12–18 inches minimum clearance above to prevent fire hazard.
Determine your foundation. A solid, level concrete pad (at least 4 inches deep, proper drainage slope) is ideal. If you’re on a deck, confirm the deck’s load rating, a loaded island kit weighs 400–800 pounds. Many deck structures won’t handle concentrated weight: a structural engineer or contractor can assess this.
Consider utilities. If you want a sink, you need a water line and drainage. Gas connections require a licensed installer in most jurisdictions. These aren’t deal-breakers, but they add cost and timeline. Some DIYers opt for kits without sinks initially, then add one later.
Think about your actual cooking habits. Will you grill twice a week or once a month? A simple cart may be all you need. If outdoor meals are your social anchor, invest in storage and counter space. Check reviews for the specific kit, look for feedback on weather durability, assembly difficulty, and whether replacement parts are readily available. Building community outdoor living spaces often becomes a custom outdoor living spaces project when you realize you want more integration.
Installation Tips and Best Practices
Before opening the box, prepare your site. Your foundation must be perfectly level, use a 4-foot level to check. Even a 1/2-inch slope can cause water pooling and uneven weight distribution. If your patio isn’t level, you may need to add shims or grind high spots.
Read the entire assembly manual before you start. Lay out all parts and hardware on a clean surface. Many kits use stainless steel bolts and fasteners: don’t substitute with regular steel bolts, which will rust. Tighten bolts firmly but don’t over-torque, which can strip threads or crack welds.
Assemble the frame first, then attach cabinets and countertop. If the kit includes a grill insert, install it last so you don’t damage it during other assembly steps. Ensure the grill sits level and secure, gas connections leak if the grill tilts.
Wear safety glasses and work gloves during assembly: bolts and cut metal edges are sharp. If you’re connecting gas, do not DIY the gas line connection, hire a licensed gasfitter. Improper gas connections are fire and safety hazards. For water lines, a licensed plumber is safest: code requirements vary by location.
After assembly, test everything. Run the grill, check for gas leaks (use soapy water on connections: bubbles mean a leak), and confirm the countertop is stable. Level the grill again once the full unit is in place. Resources like Instructables have step-by-step tutorials for specific kit models if you’re uncertain about any assembly step.
Maintenance and Long-Term Care
Outdoor kitchen kits are exposed to weather year-round, so regular maintenance keeps them functional and looking good.
Seasonal Care: At the end of grilling season, drain propane bottles, clean the grill grates with a stainless steel brush, and wipe down the exterior with a damp cloth. If your kit has a sink, winterize the water line in freezing climates (shut off the valve and open drain plugs or blow compressed air through the line).
Grill Maintenance: Clean grates after every 3–5 uses and the grease trap monthly. A clogged grease trap is a fire risk and attracts pests. Use a brass brush (not steel, which leaves particles) and a degreaser safe for stainless steel. Wipe the exterior with a microfiber cloth and stainless steel polish to prevent water spots and oxidation.
Cabinet and Hardware: Powder-coated steel holds up well but can chip. Touch up with matching paint and a small brush to prevent rust underneath. Inspect bolts and fasteners twice a year: tighten any that have loosened. Check cabinet seals and door hinges for corrosion, especially if you live near coastal areas with salt spray.
Countertop: Sealed stone counters need resealing every 1–3 years depending on your climate and use. Stainless counters just need regular wiping with a damp cloth and occasional polish. Some homeowners invest in a weatherproof cover for winter months, which significantly extends the kit’s life. Resources from Country Living often feature maintenance tips for rustic and outdoor structures that apply to kits as well.