Motion sensor outdoor flood lights have become standard equipment for homeowners serious about security, energy efficiency, and outdoor convenience. Unlike traditional floodlights that burn through electricity all night, a motion sensor flood light activates only when movement is detected, cutting energy waste while deterring unwanted visitors. Whether you’re lighting a driveway, backyard patio, or garage entrance, these fixtures combine practical security with smart automation. This guide walks you through what to look for, how to choose the right unit, and how to install one yourself, no electrician required for most hardwired setups.
Table of Contents
ToggleKey Takeaways
- Motion sensor outdoor flood lights activate only when movement is detected, cutting energy waste while improving security by deterring intruders and eliminating dark entryways.
- Detection range (20–70 feet), sensitivity settings, and adjustable time-delay (15 seconds to 10 minutes) are critical specifications that prevent false triggers and maximize performance.
- Choose brightness by lumens rather than watts—1200 lumens suits driveways while 600 lumens works for pathways—and select color temperature based on your needs (warm 2700K–3000K for residential, cool 5000K–6500K for security).
- Mount your motion sensor outdoor flood light 8–12 feet high with an unobstructed view of the target area to improve detection range and reduce false triggers from ground-level movement.
- Hardwired fixtures offer year-round reliability and permanent power, while solar and battery models skip electrical work but underperform in cloudy climates or require annual battery replacement.
- Always verify local building codes and obtain permits before installation; a voltage tester and attention to proper wire connections prevent safety hazards and code violations.
What Are Motion Sensor Outdoor Flood Lights and Why You Need Them
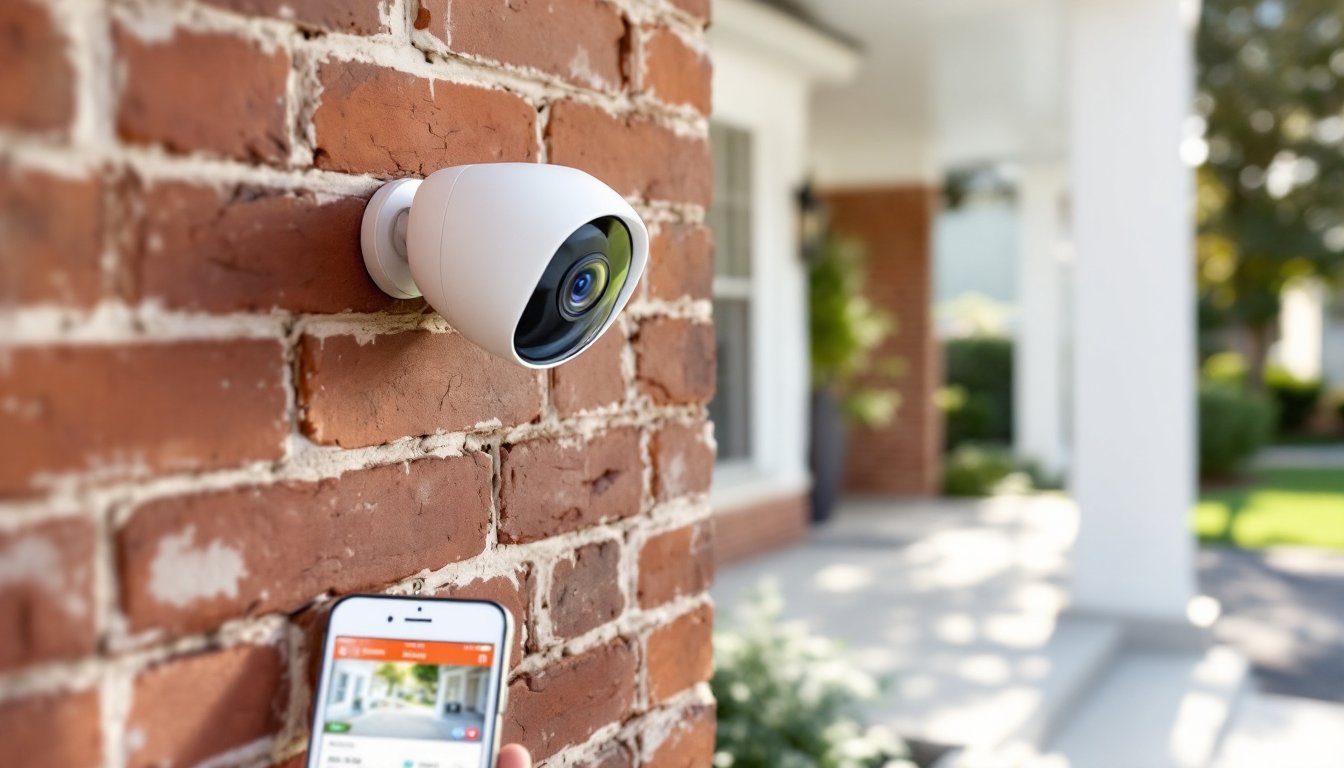
A motion sensor outdoor flood light is a high-intensity light fixture equipped with a passive infrared (PIR) sensor that detects heat signatures and triggers illumination. Unlike a standard floodlight, it sits dormant until motion activates it, making it energy-efficient and practical for security-conscious homeowners.
Why install one? Security tops the list. A sudden burst of light surprises potential intruders and alerts neighbors to suspicious activity. Beyond deterrence, motion-activated lights boost safety, you’re never fumbling in the dark approaching your front door or navigating a dark pathway. They’re also economical. A fixture burning 60 watts all night uses far more electricity than one firing only during actual movement. Over a season, that savings compounds. Modern units often include LED technology, which multiplies efficiency gains even further.
These lights suit driveways, entryways, back patios, side yards, and any outdoor area where on-demand illumination makes sense. Some homeowners use them for deck stairs or garden paths. Solar-powered variants exist, though hardwired and battery-powered models tend to offer more reliable performance in various weather conditions.
Key Features to Look For When Choosing a Motion Sensor Flood Light
Selecting the right motion sensor flood light means evaluating several specifications that affect performance and longevity.
Detection Range and Sensitivity Settings
Detection range is the distance from which the sensor triggers the light, typically 20 to 70 feet depending on the model. A 30-foot range covers most residential driveways and entryways: anything deeper requires a 50+ foot model. Sensitivity adjustments let you dial down false triggers from passing cars or small animals. Look for fixtures with a dedicated sensitivity dial (labeled “low,” “medium,” or “high”) rather than fixed-only settings. Some premium units include dawn/dusk sensors, so the light activates motion detection only after sunset, preventing unnecessary daytime triggers.
Angle of detection matters too. Most motion sensors sweep a 120° to 180° horizontal field, though some offer adjustable heads. If you need coverage of a narrow pathway, a tighter angle prevents triggering from adjacent properties. Verify the time-delay setting, the duration the light stays on after motion ceases. Standard options run 15 seconds to 10 minutes: shorter delays save energy while longer ones suit high-traffic areas.
Brightness and Color Temperature Options
Brightness is measured in lumens, not watts. A 1200-lumen fixture is bright enough for a driveway: 600 lumens suits a pathway or accent lighting. Compare lumens directly rather than wattage, a 10-watt LED might equal a 60-watt incandescent in brightness. Color temperature, measured in Kelvin (K), affects the light’s tone. Warmer tones (2700K–3000K) feel more residential and welcoming: cooler tones (5000K–6500K) resemble daylight and suit security-focused applications. Many homeowners prefer 4000K as a middle ground, bright enough for work but not harsh.
Waterproofing and IP ratings are critical outdoors. Look for at least IP65 rating, meaning the fixture resists dust and water jets. IP67 or IP68 ratings handle full submersion briefly, useful if you’re mounting near a downspout or in a damp location. Aluminum or stainless-steel housings outlast plastic in harsh climates. You’ll find expert reviews and comparisons of top-rated models that evaluate brightness, range, and durability side by side.
Installation and Setup Tips for Homeowners
Installing an exterior flood light with motion sensor is manageable for most homeowners, though hardwired models require basic electrical work. If you’re uncomfortable with electricity, hire a licensed electrician, this isn’t the place to improvise.
Materials and tools you’ll need:
• Hardwired flood light and motion sensor fixture
• Electrical wire (typically 14/2 or 12/2 NM cable, depending on circuit load)
• Wire nuts and conduit (if required by local code)
• Weatherproof outlet box and mounting bracket
• Drill with bits and a screwdriver
• Voltage tester (non-negotiable for safety)
• Wire strippers and electrical tape
• Ladder or scaffolding
• Safety glasses and work gloves
Step-by-step installation:
-
Turn off power. Locate the circuit breaker controlling your outdoor circuit, flip it off, and test the outlet with a voltage tester to confirm power is dead. This prevents electrocution.
-
Choose your mounting location. Pick a spot 8–12 feet high on a wall, soffit, or pole, height improves detection range and reduces false triggers from ground-level movement. Aim for an unobstructed view of the area you’re monitoring.
-
Run the cable. For hardwired fixtures, run electrical cable from your breaker panel (or a nearby outdoor outlet) to the light’s mounting location. Running cable through conduit protects it from weathering and rodents. Local electrical codes dictate how far cable can run: verify requirements in your jurisdiction.
-
Mount the fixture. Secure the weatherproof outlet box to your wall or soffit using corrosion-resistant fasteners. Position the motion sensor head to aim at the target zone, driveways need downward angles: pathways need wider horizontal sweeps.
-
Connect wires. Strip about ½ inch of insulation from the black (hot), white (neutral), and bare copper (ground) wires. Connect black to black, white to white, and ground to ground using wire nuts. This is where a voltage tester confirms power is off before you touch anything.
-
Secure everything. Tuck excess wire into the box, seal with a weatherproof gasket, and screw the fixture cover down. Water intrusion is your enemy, any gap invites corrosion.
-
Restore power and test. Flip the breaker back on. During daylight, manually trigger the motion sensor by waving your hand to confirm activation. At dusk, cover the sensor with your hand to trick it into “night mode” and test motion detection.
Solar and battery options skip the electrical work. These units mount with a single bracket, charge during the day, and detect motion at night. Performance varies, solar models struggle in cloudy climates, and batteries require annual replacement. Hardwired fixtures remain more reliable for year-round security.
Building codes require outdoor lighting and electrical work to meet the National Electrical Code (NEC). Some jurisdictions require permits for new circuits. Check with your local building department before starting: a permit costs less than fixing a code violation.
A review of motion-sensor floodlights highlights installation considerations and product reliability across different brands and weather scenarios. Also, home automation technology trends continue to shape outdoor lighting innovation, offering smarter integration with smart home systems for those interested in expanding beyond basic motion detection.
Conclusion
Motion sensor outdoor flood lights are a practical, cost-effective upgrade that improves security while slashing energy waste. Focus on detection range, sensitivity adjustment, brightness in lumens, and waterproofing when comparing models. Hardwired installation requires basic electrical confidence and attention to code, but the permanent power supply beats battery or solar alternatives for reliability. Take your time with mounting height and sensor angle, proper placement prevents frustration later. Whether you’re protecting a driveway or illuminating a back entrance, a quality motion-activated light delivers years of dependable service with minimal fuss.