Outdoor laundry solutions are becoming a practical choice for homeowners looking to reclaim interior space and reduce energy costs. Whether you’re dealing with a small apartment, a multi-story home, or simply want to move laundry away from living areas, an outdoor washer and dryer setup offers real benefits. This guide walks you through everything you need to know, from choosing equipment suited to your climate, to installation basics, weatherproofing, and long-term maintenance. We’ll keep it straightforward: no Pinterest inspiration, just actionable steps a homeowner can actually execute.
Table of Contents
ToggleKey Takeaways
- An outdoor washer and dryer setup reclaims 30–50 square feet of interior space while eliminating laundry room odors and humidity issues indoors.
- Moving laundry outdoors reduces energy costs dramatically—electric dryer cycles typically cost $0.30–$0.60, adding up to $36–$140 yearly per household, while line-drying eliminates these expenses entirely.
- Choose your outdoor washer and dryer equipment based on climate: humid regions benefit from electric vented dryers, while arid areas with 200+ sunny days yearly can rely on natural air-drying methods.
- Proper installation requires utility access, correct voltage (typically 240V for electric dryers), and a level concrete pad, with most electrical work needing permits and professional licensing costing $500–$2,000.
- Weather protection through a three-sided shelter or shed ($300–$4,000) and UV-resistant coatings extends outdoor equipment lifespan by 30–40% and prevents salt and environmental damage.
- Monthly maintenance—especially cleaning lint traps after every load and quarterly vent hose inspection—prevents efficiency loss and fire risk while extending appliance life.
Why Invest in Outdoor Washing and Drying Solutions
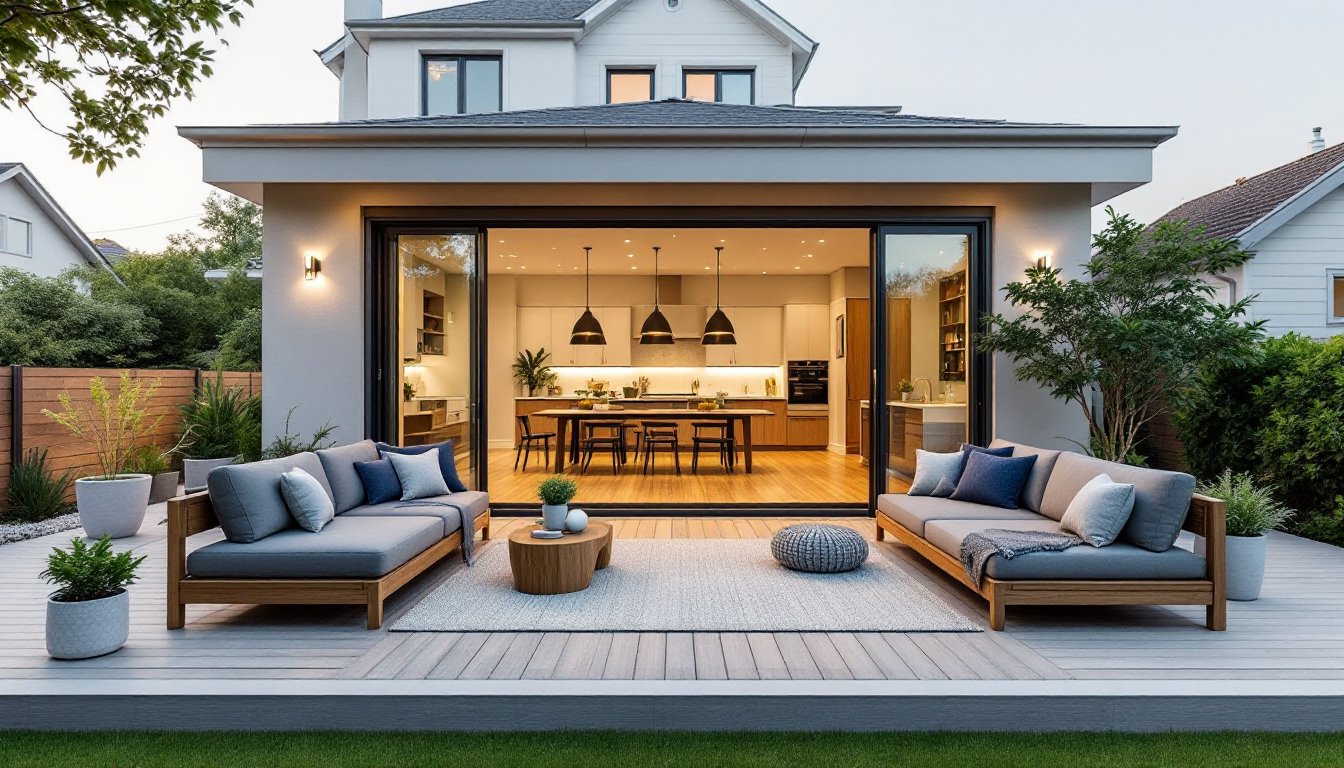
Space-Saving Benefits for Compact Homes
Moving your washer and dryer outdoors frees up square footage in your home, often 30 to 50 square feet depending on your unit size. That’s roughly the footprint of a closet or a corner bedroom alcove. For townhomes, apartments, and smaller single-family homes, this reclaimed space can become a pantry, exercise area, or office nook.
Outdoor placement also eliminates the mechanical closet or laundry room smell that tends to creep into hallways and bedrooms. You get better air circulation naturally, and any moisture from the dryer vent goes straight outside instead of potentially affecting your interior humidity levels.
Energy Efficiency and Cost Savings
Electric dryers are notorious energy consumers, they typically rank second only to refrigerators in household electricity use. By venting directly to the outdoors without running ductwork through interior walls, you reduce thermal loss in winter. More importantly, line-dried laundry (using outdoor sun and breeze) costs nothing once your equipment is installed.
Electric costs vary by region, but drying a load typically costs $0.30 to $0.60 per cycle in most U.S. markets. Over a year, that’s $36 to $140 per household if you run two loads weekly. Solar or air-dry methods on sunny days eliminate those costs entirely. Water heating is equally significant, cold-water washing for most loads (which outdoor units support just as well as indoor ones) saves another 80% to 90% of the energy your water heater would use.
Choosing the Right Equipment for Your Space
Select equipment based on your climate, available utilities, and whether you want electric or natural drying. Standard full-size washers are 27 to 28 inches wide and 42 to 43 inches tall: compact units run 24 inches wide. Full-size dryers need the same width and venting clearance.
For humid or rainy climates, a vented electric dryer is practical because you can’t rely on consistent sunny, dry conditions. In arid climates with 200+ sunny days yearly, a clothesline, portable drying rack, or even a retractable clothesline system works beautifully and costs almost nothing to operate.
Check your climate’s average humidity and rainfall. If you’re in the Southeast or Pacific Northwest, expect 100+ rainy days annually, plan accordingly. Combination washer-dryer units (all-in-one machines) are space-efficient but slower and less effective on heavy loads: they suit light, regular use better than families with multiple daily laundry cycles.
Vented electric dryers require a standard 120V or 240V outlet depending on the model. Most full-size electric dryers use 240V. Check your home’s electrical service capacity before purchase, a licensed electrician can verify this in under an hour. If you lack a 240V circuit, installation costs $500 to $2,000 depending on how far the circuit must run from your panel.
Installation and Setup Essentials
Before you buy, confirm your space has:
- Utility access: Water supply lines (hot and cold) and drain access for the washer, or willingness to use a standpipe and drainage system.
- Electrical service: Appropriate voltage and amperage for your dryer (verify with an electrician or your home’s electrical panel label).
- Venting clearance: At least 6 inches of clearance on all sides of equipment for airflow and maintenance. Never box in a dryer, it needs room to breathe.
- A firm, level surface: Concrete pad or reinforced decking. Uneven surfaces cause vibration and premature wear.
Water supply for washers is straightforward: run 3/4-inch hot and cold water lines to a standpipe or outlet box installed at the washer’s height. Most outdoor installations use Schedule 40 PVC or polyethylene lines, which are affordable and freeze-resistant in cold climates, wrap them with pipe insulation tape if temperatures regularly drop below 32°F.
Dryer venting must use rigid or flexible aluminum ductwork, never plastic dryer vent hose outdoors (it deteriorates in UV light). Route the vent line at a slight downward angle (1/8 inch drop per foot) to prevent moisture backup. Install a louvered vent hood at the exterior wall to stop birds and pests from nesting in the duct. Vent length shouldn’t exceed 25 feet: every 45-degree elbow adds 5 feet to effective length. Oversized ductwork (wider than the dryer outlet) reduces exhaust velocity and traps lint.
If you’re uncomfortable running electrical circuits or water lines, hire a licensed electrician and plumber. Most jurisdictions require permits for new 240V circuits and water supply work, these aren’t cosmetic projects. Permits typically cost $50 to $150 and take 1-2 weeks to process and inspect.
Weatherproofing and Protection Strategies
Outdoor washers and dryers face sun, rain, temperature swings, and salt spray (if near coastal areas). Weatherproofing extends equipment life dramatically.
Shelter is priority one. A simple three-sided cover structure (think carport or patio overhang) keeps direct rain off. Full enclosure works too, but ensure ventilation, a dryer especially needs airflow and outlet clearance. Many homeowners build a modest 8-foot by 4-foot shed with a single door for equipment access and tool storage. Material costs run $300 to $800 for DIY construction: expect $2,000 to $4,000 if hiring a contractor.
UV and salt damage require protective paint or coatings. Use outdoor-rated enamel or polyurethane paint (never interior latex) on metal covers, frames, or shelter walls. Reapply every 2 to 3 years in harsh climates. In coastal areas, consider stainless steel fixtures and hardware instead of standard steel to resist salt-air corrosion.
For the equipment itself, lint traps must be cleaned after every load, this isn’t optional. Clogged lint traps reduce dryer efficiency by 40% and create fire risk. Some owners cover their washer and dryer with fitted, breathable polyethylene or canvas tarps during off-season (winter or extended rainy periods). Ensure tarps don’t trap moisture: air gaps are essential.
Freeze protection is critical in cold climates. Drain the washer’s inlet and supply lines if you shut down for winter, or leave a small trickle of water running in the supply line during hard freezes. Leave the washer door open between uses to prevent mold and odor buildup from trapped moisture.
Maintenance Tips for Long-Term Performance
Outdoor equipment needs more frequent maintenance than indoor units because of environmental exposure. Monthly checks catch problems early.
Dryer maintenance starts with lint traps and venting. Clean the lint trap after every load. Check the exterior vent hood monthly, remove any lint buildup or debris blocking airflow. Quarterly, disconnect the dryer vent hose and vacuum inside with a dryer vent brush kit (available for $20 to $40): lint accumulates faster outdoors due to dust and air movement.
Washer care focuses on water connections and drain line clearance. Inspect supply hose connections twice yearly for cracks or weeping, they typically fail after 5 to 7 years of use, so plan replacements. Keep drain lines clear and ensure standing water doesn’t pool around the washer, which breeds mold. Leave the washer door open between cycles to air out the rubber seal and drum.
Environmental concerns include checking paint or protective coatings annually and reapplying as needed. Tighten any loose hardware (bolts, hinges, handles) every spring before heavy-use months. In coastal regions with salt spray, rinse the exterior with a low-pressure hose monthly to remove salt deposits.
Schedule professional servicing every 2 to 3 years, a technician can inspect internal components, replace worn seals, and verify electrical safety. This typically costs $150 to $300 per machine but prevents costly repairs. According to homeowner cost guides, preventive maintenance extends appliance lifespan by 30% to 40% and reduces emergency repairs by half.