A challenger outdoor kitchen transforms your backyard from a summer hangout into a fully functional entertainment hub, and it doesn’t require a contractor’s deep pockets or years of building experience. Whether you’re grilling burgers for the neighborhood or hosting seasonal entertaining, a well-designed outdoor kitchen delivers convenience, durability, and real value. This guide walks you through what sets a Challenger kitchen apart, how to plan your layout, design choices that work in real-world conditions, and the installation steps that matter most. You’ll learn what to tackle yourself and when to call in professionals, so your project stays on budget and on schedule.
Table of Contents
ToggleKey Takeaways
- A Challenger outdoor kitchen uses modular, freestanding design with weatherproof materials, allowing flexibility to add components over time and even relocate the system if needed.
- Proper foundation preparation—ensuring level surfaces with correct slope—is critical to prevent water pooling, binding doors, and long-term corrosion damage.
- Gas lines, electrical outlets with GFCI protection, and water/drainage systems must be installed by licensed professionals with proper permits before appliances arrive.
- Stainless-steel bolts, weather-sealed hardware, and annual sealing of stone and composite surfaces are essential maintenance practices that extend your Challenger kitchen’s lifespan to 15–20 years.
- The work triangle layout—positioning your grill, prep area, and storage efficiently—reduces unnecessary steps and makes cooking and entertaining more enjoyable.
- Winter preparation, including draining water lines, bleeding gas lines, and covering the kitchen, protects against freeze-thaw damage in seasonal climates.
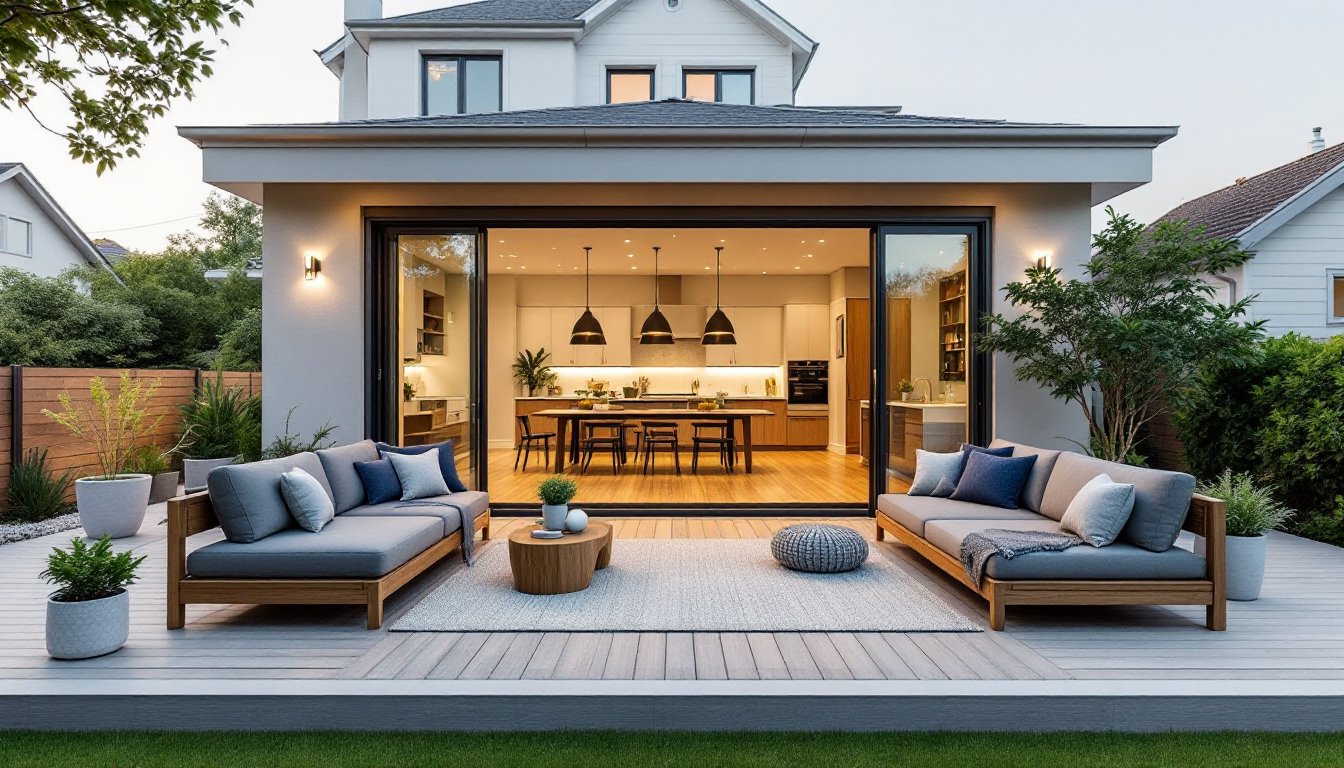
What Makes a Challenger Outdoor Kitchen Different
A Challenger outdoor kitchen stands apart through modular design, weatherproof construction, and flexible configurations that fit various lot sizes and budgets. Unlike built-in stone masonry kitchens that demand a full site teardown and professional masons, Challenger units arrive partially assembled or as freestanding modules that you position and secure, think of it as the outdoor kitchen equivalent of cabinets rather than custom cabinetry.
The core difference lies in material durability and finish standards. Challenger kitchens typically feature powder-coated steel frames, stainless-steel work surfaces, and sealed or composite countertops designed to handle freeze-thaw cycles, UV exposure, and salt air near coastal areas. These kitchens resist rust and corrosion far better than bare metal or untreated wood. The modular approach also means you can add components over time, start with a grill and countertop, then add a sink, refrigeration, or storage in year two or three as your budget and entertaining needs grow.
One practical advantage: if you relocate, a Challenger kitchen can be disassembled and moved, whereas poured foundations or mortared stone work stays put. This flexibility appeals to homeowners who aren’t planning to stay in one place forever.
Essential Components and Layout Planning
Cooking Stations and Appliances
Every outdoor kitchen needs at least one cooking station: most should include a primary grill, prep surface, and storage. For Challenger kitchens, appliance selection depends on your cooking style and whether you want gas, charcoal, or hybrid setups.
Gas grills (typically 36–48 inches wide) offer quick ignition and even heat distribution, ideal for weeknight cooking. Charcoal grills require more hands-on attention but deliver superior flavor for smoked meats: budget 20–30 minutes for temperature stabilization. Combo units let you switch between both.
Beyond the main grill, consider a side burner for sauces or warming sides, a rotisserie attachment, or a smoker box. Challenger modular systems often slot these components into a standardized frame, so you’re not custom-fitting everything from scratch.
Run a gas line underground if using propane or natural gas: this usually requires a licensed plumber and local permits. Electrical outlets for ice makers, lighting, and fans need GFCI protection under National Electrical Code (NEC) standards, again, hire a licensed electrician.
Work Surfaces and Storage Solutions
Countertop space is where cooking actually happens. Aim for at least 24–36 inches of counter beside your grill for staging raw ingredients and finished plates. Stainless steel offers durability but shows fingerprints: granite or engineered quartz provides upscale aesthetics but requires more care in freeze-thaw climates (and can crack if water enters cracks and freezes).
Storage underneath the cooking line prevents clutter and keeps tools dry. Drawer inserts for utensils, stainless-steel cabinet doors to shield propane tanks or small appliances, and pull-out cutting boards all reduce time hunting for what you need. Look for weather-sealed hinges and drawer slides rated for outdoor use: cheap indoor hardware rusts within a season.
Ice makers, small fridges, or beverage coolers make entertaining effortless. If you’re running power, a dedicated 120-volt outdoor outlet with GFCI protection handles most small appliances: larger fridges may need a 240-volt circuit. Consult your local electrical code and a licensed electrician before running new circuits.
Design and Aesthetic Considerations
The layout should follow the classic “work triangle” principle: grill, sink/prep area, and storage form a flowing path so you’re not making extra steps. Most homeowners place the grill as the visual anchor (often the most expensive component), with a prep counter to one side and storage or beverage coolers flanking the setup.
Material choice affects both longevity and appearance. Powder-coated steel frames come in matte black, stainless, or painted finishes: stainless resists rust but costs more and shows water spots. Composite or engineered quartz countertops hold up better than natural stone in freeze-thaw zones, though either requires sealing. Tile backsplashes add visual interest but need outdoor-rated grout and proper drainage so water doesn’t pool behind the tiles.
Pavers or a concrete slab form the foundation: ensure proper slope (1/8 inch per foot minimum) away from the kitchen so water drains rather than pooling under cabinets. A covered structure overhead, pergola, shade sail, or a partial roof, extends the usable season and protects food prep from rain and sun.
Integrate your Challenger kitchen with surrounding custom outdoor living spaces through consistent materials and sightlines. If your patio is limestone, match or complement it in the kitchen’s coping or backsplash. Lighting, overhead and under-cabinet, makes evening cooking safer and more inviting.
Installation and Setup Best Practices
Before delivery, confirm your foundation is level and properly sloped. A digital level and a straightedge reveal high and low spots: fill or level low areas with sand or self-leveling concrete to within ± 1/4 inch over 10 feet. Uneven support causes doors and drawers to bind and water to pool against seals.
Gas and electrical runs must be completed before appliances arrive. If installing an underground gas line, hire a licensed plumber to cut, lay, and test the line per local code. For electrical, a licensed electrician runs GFCI-protected circuits in buried conduit or above-ground raceways, depending on code. Both trades will pull permits and schedule inspections, this isn’t a shortcut phase.
Assemble the frame according to manufacturer specs using the provided bolts and brackets: don’t substitute fasteners or skip washers. Stainless-steel bolts resist corrosion far better than galvanized hardware. Tighten all connections, then check again after a week of outdoor exposure (metal expands and contracts with temperature swings).
Install the grill, side burners, and sink once the frame is rock-solid. Connect gas lines with thread-seal tape (schedule the final pressure test with a licensed plumber). For water supply and drainage, run 1/2-inch or 3/4-inch PEX or copper supply lines and 2-inch ABS drain lines with a slope toward a termination point or dry well. These connections also require permits and professional inspection in most jurisdictions.
Test every component, ignition, water pressure, drain flow, before guests arrive. A leaking valve or a grill that won’t light mid-party ruins the experience and can damage surrounding materials. Consult a challenger outdoor kitchen specialist or contractor if you’re unsure about gas, electrical, or plumbing connections: this is one area where a permit and inspection protect your home and safety.
Maintenance and Long-Term Care
Weekly cleaning (after use) prevents grease buildup, rust spots, and odors. Wipe stainless-steel surfaces with a damp cloth and mild dish soap: dry immediately to prevent water spots. Brush out grill grates with a brass or stainless-steel brush (don’t use steel wool, which leaves fibers that rust) after each cook.
Seal stone and tile work annually with an outdoor-rated sealer: this prevents water absorption and freeze-thaw damage. Composite countertops need less maintenance but still benefit from annual sealing, especially in humid climates.
Before winter, turn off the gas supply at the tank and bleed the line by running the grill until it stops. Cover the kitchen with a fitted tarp or weather cover: this reduces UV damage, moss growth, and rust. If you live in a freeze-thaw zone, drain the water lines completely or install a frost-proof faucet with a shutoff valve above ground so ice doesn’t crack supply lines or faucet bodies.
Check bolts and fasteners every spring: corrosion and thermal expansion loosen them over time. Replace any rusted hardware with stainless-steel equivalents. Modern outdoor kitchen designs emphasize sealed and drainage solutions to handle seasonal shifts, so inspect seals around countertops and cabinet edges for cracks or gaps. A failing seal is the fastest path to rot or corrosion inside cabinet frames.
Minor repairs, a loose hinge, a slow drain, are DIY-friendly. Major work like replacing gas regulators, repiping, or rewiring should go to licensed professionals. Most outdoor kitchens built to code with quality materials last 15–20 years with consistent maintenance.
Getting Started with Your Challenger Outdoor Kitchen
A challenger outdoor kitchen offers a practical way to expand your entertaining space without the custom-build timeline and cost of traditional masonry kitchens. Start by mapping your space, confirming gas and electrical access, and nailing down your budget. Focus on solid foundation work, proper permits, and professional installation of utilities, these foundational choices determine durability and enjoyment. Once setup is complete, seasonal maintenance and attention to seals and fasteners keep your kitchen performing well for two decades or more. Your backyard will thank you.